In the world of game development, creating lifelike character animations can be a daunting task. However, with tools like Mixamo for game, the process has become significantly streamlined. Mixamo, acquired by Adobe in 2015, is a powerful online platform that offers a vast library of pre-made character animations and an easy-to-use rigging system. In this comprehensive guide, we’ll explore how game developers can harness the potential of Mixamo to enhance their game development process.
Understanding Mixamo for game:
Mixamo offers game developers a treasure trove of resources, from ready-made character animations to an automated rigging system. Here’s a breakdown of its key features:
- Animation Library: Mixamo for game boasts an extensive collection of high-quality animations, ranging from basic movements like walking and running to more complex actions like combat sequences and gestures. These animations are compatible with various game engines and come in different formats, making them versatile for projects.
- Rigging: Rigging is a crucial step in character animation, where a skeleton is attached to the model to enable movement. Mixamo simplifies this process with its auto-rigging feature. Developers can upload their character models to Mixamo, and the platform automatically generates a rig compatible with the animations available.
- Customization: While Mixamo provides a vast library of animations, developers may still need to customize certain aspects to suit their specific needs. The platform allows for easy customization of animations, including adjusting the timing, blending multiple animations, and tweaking parameters like speed and intensity.
Integrating Mixamo into Game Development Workflow:
Now that we’ve covered the basics of Mixamo for game let’s delve into how developers can integrate it into their game development workflow effectively:
- Character Creation: Begin by creating or obtaining character models for your game. These models can be created using 3D modeling software like Blender or Maya or sourced from online marketplaces. Ensure the models are correctly rigged or compatible with Mixamo’s auto-rigging feature.
- Animation Selection: Once your character models are ready, browse Mixamo’s extensive animation library to find the movements and actions you need for your game. From idle animations to complex combat sequences, Mixamo offers a wide range of options to choose from.
- Rigging and Customization: Upload your character models to Mixamo for game and use the auto-rigging feature to generate skeletons for Animation. After rigging, you can customize the animations as per your requirements. This may involve tweaking timing, blending animations, or adjusting parameters to achieve the desired look and feel.
- Export and Integration: After customizing animations, download them in the appropriate format for your game engine. Most game engines support formats like FBX, which can be easily imported. Once imported, integrate the animations into your game’s codebase and assign them to respective character models.
Best Practices and Tips:
To make the most out of Mixamo for game development, consider the following best practices:
- Optimize Performance: While Mixamo for game offers high-quality animations, consider the impact of performance on your game. Opt for animations that balance visual fidelity and performance, especially for mobile or low-spec platforms.
- Blend Animations Seamlessly: Experiment blending different animations to create smooth transitions between actions. This can enhance your game’s overall fluidity and realism of character movements.
- Combine with Other Tools: Mixamo can seamlessly integrate with other tools and software in your game development pipeline. Combining Mixamo for game animations with procedural animation systems or motion capture data to achieve even more lifelike character behaviors.
- Feedback and Iteration: Solicit feedback from playtesters and iterate on animations based on their input. Pay attention to responsiveness, character weight, and overall feel to ensure that animations enhance the gameplay experience.
Getting Started with Mixamo for game: Installation and Basic Setup
Mixamo is an invaluable tool for game developers, offering automated character rigging and a vast library of animations. This guide will walk you through the initial steps to get started with Mixamo, from installation to basic setup, ensuring you can efficiently integrate it into your game development workflow.

Step 1: Creating an Adobe Account
Since Mixamo is an Adobe service, you will need an Adobe account to access it.
- Visit the Adobe website: Go to adobe.com.
- Sign Up / Sign In: If you don’t already have an Adobe account, click “Sign In” at the top right corner and then select “Create an account.” Follow the instructions to create your account. If you already have an account, simply sign in.
Step 2: Accessing Mixamo
- Go to Mixamo: Navigate to Mixamo’s website.
- Sign In with Adobe ID: Click “Sign In” and use your Adobe account credentials to log in.
Step 3: Exploring the Mixamo Interface
Upon logging in, you’ll be greeted with Mixamo’s user-friendly interface. Here’s a brief overview of the main sections:
- Character Library: Browse a variety of 3D character models available for use.
- Animation Library: Access an extensive collection of animations you can apply to characters.
- Upload Character: Upload your custom 3D models to rig and animate them using Mixamo for game.
Step 4: Uploading a Character Model
To start animating your character model, upload it to Mixamo for game.
- Prepare your 3D model: Ensure your model is in a supported format (FBX, OBJ, or ZIP containing an FBX/OBJ and textures).
- Upload your model: Click on “Upload Character” in Mixamo.
- Drag and drop your File or browse to select it from your computer.
- Mixamo will process the model and guide you through the rigging process.
Step 5: Auto-Rigging Your Character
After uploading your character model, Mixamo will guide you through the auto-rigging process:
- Character Orientation: Ensure your character is in a T-pose or an A-pose. Adjust the orientation if necessary.
- Place Markers: Follow the instructions to place markers on critical joints (wrists, elbows, knees, groin, and chin). This helps Mixamo accurately rig your character.
- Auto-Rigging: Click “Next” and let Mixamo automatically rig your character. This process typically takes a few moments.
Step 6: Applying Animations
Once your character is rigged, you can apply animations from mixamo’s library:
- Select an Animation: Browse the animation library and click on any animation to see a preview of your character.
- Customize Animations: Using the sliders provided, adjust parameters like speed, character arm space, and in-place movement.
- Add to My Assets: If you’re satisfied with the Animation, click “Add to My Assets” to save it for later use.
Step 7: Exporting Your Animated Character
To use your animated character in your game engine, you need to export it:
- Download: Click “Download” at the top right of the interface.
- Choose Format: Select the format compatible with your game engine (e.g., FBX for Unity, FBX for Unreal Engine, or other formats).
- Download Settings: Configure download settings such as skin inclusion, frame rate, and keyframe reduction.
- Export: Click “Download” to export your animated character to your computer.
Step 8: Importing to Your Game Engine
Finally, import your animated character into your preferred game engine:
- Unity: Drag and drop the downloaded FBX file into your Unity project’s Assets folder. Unity will automatically import the characters and animations.
- Unreal Engine: Import the FBX file into Unreal Engine using the Content Browser. Configure import settings as needed.
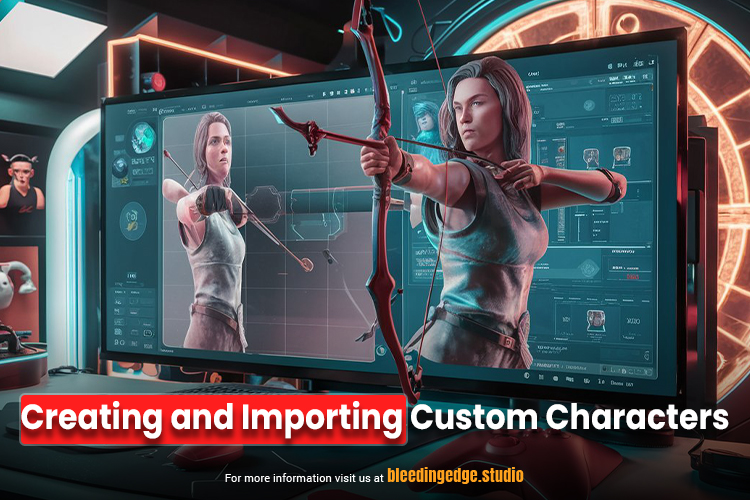
Creating and Importing Custom Characters with Mixamo for game
Mixamo offers a library of pre-made characters and animations and allows you to upload, rig, and animate custom characters. This guide will walk you through creating custom characters using 3D modeling software, uploading them to Mixamo for rigging and Animation, and then importing these animated characters into your game engine.
Step 1: Creating a Custom Character
To begin, you need a custom 3D character model. Here are steps using Blender, a popular free 3D modeling software with Mixamo for game:
- Download and Install Blender: Go to the website and download the latest version. Install it on your computer.
- Create Your Character:
- Modeling: Use Blender’s modeling tools to create the geometry of your character. Start with basic shapes and refine them into a detailed model.
- Texturing: Apply textures to your model to give it color and detail. Blender’s UV mapping tools can unwrap your model and apply textures accurately.
- Ensure Proper Pose: Place your character in a T-pose or A-pose, as these are required for Mixamo’s auto-rigging process.
- Exporting Your Model: Once your model is complete and in the correct pose:
- File Format: Export the model in a format supported by Mixamo, such as FBX or OBJ. In Blender, go to File> Export > FBX (.fbx) or File> Export > Wavefront (.obj).
- Export Settings: Ensure that you export the model using the correct settings. For FBX, check options like “Selected Objects” and “Apply Modifiers.”
Step 2: Uploading to Mixamo
- Sign In to Mixamo: Visit Mixamo and log in with your Adobe ID.
- Upload Your Model:
- Click on “Upload Character.”
- Drag and drop your FBX or OBJ file or browse to select it from your computer.
- Mixamo will process the model and prepare it for rigging of Mixamo for game.
Step 3: Rigging Your Custom Character
- Character Orientation: Ensure your character is oriented correctly in the preview window. Adjust if necessary.
- Placing Markers:
- Mixamo will guide you through placing markers on critical joints: wrists, elbows, knees, groin, and chin.
- Proper placement ensures accurate rigging.
- Auto-Rigging: Click “Next” to let Mixamo automatically rig your character. This process usually takes a few moments.
Step 4: Applying Animations
- Browse Animations: Explore Mixamo’s animation library. Click on any animation to see a preview of your character.
- Customize Animations: Use the provided sliders to adjust animation parameters like speed, arm spacing, and in-place movement.
- Save Animations: If satisfied, click “Add to My Assets” to save the Animation.
Step 5: Exporting Your Animated Character
- Download: Click “Download” at the top right of the Mixamo for game interface.
- Select Format: Choose a format compatible with your game engine (e.g., FBX for Unity, FBX for Unreal Engine).
- Download Settings: Configure skin inclusion, frame rate, and keyframe reduction settings.
- Download: Click “Download” to export the animated character in Mixamo for game.
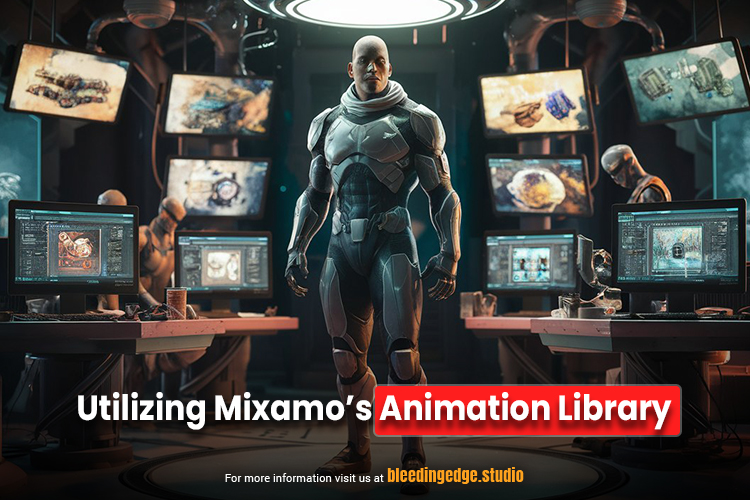
Utilizing mixamo’s Animation Library
Mixamo’s animation library is a valuable resource for game developers, offering a wide range of pre-made animations that can be easily applied to your characters. This guide will walk you through maximizing Mixamo’s animation library, from browsing and selecting animations to customizing and integrating them into your game development workflow as Mixamo for game.
Step 1: Accessing the Animation Library
- Log In to Mixamo: Visit Mixamo and sign in with your Adobe ID.
- Navigate to the Animation Library:
- Once logged in, you’ll be directed to Mixamo’s main interface.
- Click on the “Animations” tab to access the animation library.
Step 2: Browsing and Selecting Animations
- Search and Filter:
- Use the search bar to find specific animations by keywords (e.g., “run,” “jump,” “fight”).
- Apply filters to narrow your choices by categories such as style (e.g., walking, dancing, combat), in-place or root motion, and character attributes.
- Preview Animations:
- Click on any animation thumbnail to preview it.
- The selected Animation will be applied to the default character model in the preview window, allowing you to see it in action.
Step 3: Applying Animations to Your Character
- Upload Your Character:
- If you haven’t already uploaded your custom character, click “Upload Character“ and follow the steps to upload and rig your model.
- Ensure your character is in a T-pose or A-pose for optimal rigging.
- Select and Apply Animation:
- Once your character is uploaded, select an animation from the library.
- The Animation will automatically be applied to your character in the preview window of Mixamo for game.
- Adjust the view to see how the Animation fits your character in Mixamo for game.
Step 4: Customizing Animations
Mixamo allows you to customize various aspects of animations to better fit your character and project needs:
- Adjust Parameters:
- Character Arm Space: Modify the distance between the arms and the body to prevent clipping.
- Animation Speed: Adjust the speed slider to make the Animation faster or slower.
- In-Place vs. Root Motion: Choose whether the Animation should play in place or include root motion (movement through space).
- Blend Animations:
- Mixamo supports blending between different animations to create smooth transitions.
- For complex actions, combine multiple animations to achieve the desired sequence.
Step 5: Saving and Downloading Animations
- Add to My Assets:
- Once satisfied with the animation and any customizations, click “Add to My Assets“ to save it to your Mixamo account for easy later access.
- Download Animation:
- Click the “Download“ button at the top right of the Mixamo interface.
- Select the desired format (FBX for Unity, FBX for Unreal Engine, etc.).
- Configure download settings such as frame rate, keyframe reduction, and whether to include the skin.
- Click “Download“ to export the animation file of Mixamo for game.
Step 6: Importing Animations into Your Game Engine
- Unity:
- Open Unity and create or open a project.
- Drag and drop the downloaded FBX file into the Unity Project’s Assets folder.
- Unity will import the Animation along with the character model.
- Configure the animation import settings, ensuring the rig type is set to “Humanoid“ for character animations.
- Unreal Engine:
- Open Unreal Engine and create or open a project.
- In the Content Browser, click “Import“ and select the downloaded FBX file.
- Configure the import settings, making sure “Import Animations“ is checked.
- Click “Import“ to bring the Animation into Unreal Engine.
Tips for Effective Use of Mixamo Animations
- Optimize Performance:
- When working with multiple animations, ensure they are optimized to prevent performance issues, especially on mobile or low-end platforms of Mixamo for game.
- Blend Animations Seamlessly:
- Use blending techniques in your game engine to create smooth transitions between animations, enhancing the realism of character movements in Mixamo for game.
Integrating Mixamo for game Assets into Game Engines
Mixamo provides a streamlined workflow for creating, customizing, and animating 3D characters, which can be easily integrated into popular game engines such as Unity and Unreal Engine. This guide will walk you through importing and using Mixamo assets in these game engines, ensuring seamless integration into your game development projects.
Step 1: Preparing Mixamo Assets for Export
Before importing Mixamo assets into your game engine, ensure they are adequately prepared and exported from Mixamo.
- Upload and Animate Your Character:
- Upload your custom character to Mixamo for game and apply the desired animations.
- Customize the animations as needed using Mixamo’s tools.
- Download the Assets:
- Once you have the animations ready, click the “Download“ button.
- Select the appropriate format for your game engine:
- For Unity: Choose FBX for Unity.
- For Unreal Engine: Choose FBX for Unreal Engine.
- Configure the download settings (e.g., frame rate, keyframe reduction) and click “Download“ to export the assets of Mixamo for game.
Step 2: Importing Mixamo Assets into Unity
- Open Unity:
- Launch Unity and create a new project or open an existing one.
- Import FBX Files:
- Drag and drop the downloaded FBX files (character model and animations) into the Assets folder of your Unity project.
- Unity will automatically import the files and create associated materials and animations.
- Configure Import Settings:
- Select the FBX file: Click on the FBX file in the Assets folder to open the Import Settings in the Inspector.
- Rig Settings: Set the Animation Type to “Humanoid“ to ensure compatibility with Unity’s animation system. Click “Apply.”
- Animation Settings: Verify the imported animations, adjust settings like loop time, and apply changes.
- Creating an Animator Controller:
- Create Animator Controller: Right-click in the Assets folder, go to Create > Animator Controller, and name it appropriately.
- Assign Animations: Open the Animator Controller and drag the imported animations into the Animator window to create states and transitions in Mixamo for game.
Step 3: Importing Mixamo Assets into Unreal Engine
- Open Unreal Engine:
- Launch Unreal Engine and create a new project or open an existing one.
- Import FBX Files:
- Click the “Import“ button in the Content Browser and select the downloaded FBX files.
- In the FBX Import Options dialog, ensure that “Import Animations“ is checked.
- Configure Import Settings:
- Skeleton Selection: If importing multiple animations for the same character, select the existing skeleton to ensure consistency.
- Material Settings: Adjust material import settings as needed.
- Click “Import“ to bring the assets into Unreal Engine.
- Creating an Animation Blueprint:
- Create Animation Blueprint: Right-click in the Content Browser, go to Animation> Animation Blueprint, and select the character skeleton.
- Open Animation Blueprint: Open the created Animation Blueprint and configure the Animation Graph. Add states and transitions for the imported animations in Mixamo for game.
Conclusion:
Mixamo gives game developers a powerful toolkit for creating dynamic and engaging character animations with relative ease. By leveraging its extensive animation library, automated rigging system, and customization options, developers can streamline the animation process and focus more on iterating and polishing their games. With the right approach and integration into the development workflow, Mixamo for game can be a game-changer in enhancing the visual appeal and immersion of gaming experiences.
For ore topics, see https://bleedingedge.studio/blog/