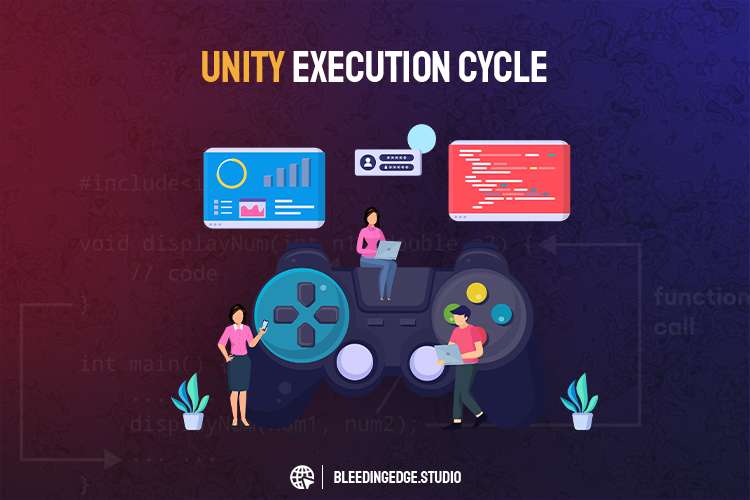
Mastering the Unity Game Loop: Understanding Start vs. Update Functions and More in 2023!
Unity execution cycle, also known as the game loop,
is the process by which Unity manages and updates the various components of a game. Understanding the execution cycle is crucial for developing games in Unity as it determines the order in which functions like Start, Update, LateUpdate, and FixedUpdate are called and how the game progresses from one frame to the next. Below is a comprehensive explanation of the Unity execution cycle:

-
Initialization Phase:
-
- When you run your Unity application, the first thing that happens is the initialization phase.
-
- Unity loads the necessary assets, scenes, and resources to start the game.
-
- All the objects and scripts in the scene are instantiated and initialized.
-
Scene Loading:
-
- Unity loads the active scene and processes all the GameObjects present in it.
-
- The Awake function of scripts attached to GameObjects is executed. This is where you can set up references and perform one-time initialization tasks.
-
Start Phase:
-
- After the Awake functions have been called, the Start functions are executed.
-
- The Start functions run in the order of script execution order, which you can configure in Unity’s Script Execution Order settings.
-
Game Loop (Update Phase):
-
- Once the initialization phase is completed, Unity enters the game loop.
-
- The game loop consists of the following steps and continues until the application is closed or the game is paused:
-
a. Input Processing:
-
- Unity checks for player input (e.g., keyboard, mouse, touch) and updates the Input system accordingly.
-
- This allows the game to respond to player interactions.
-
b. Update:
-
- The Update functions of all active scripts are executed. This happens once per frame.
-
- In Update, you handle most real-time game logic, like player movement, animation updates, and general game state management.
-
c. FixedUpdate:
-
- After Update, Unity calls FixedUpdate at fixed time intervals, which are not tied to frame rate variations.
-
- FixedUpdate is used mainly for physics-related calculations, ensuring consistent simulations regardless of the frame rate in game loop.
-
d. LateUpdate:
-
- After all Update and FixedUpdate functions have been executed, LateUpdate is called.
-
- This is useful for actions that depend on the results of other updates, like camera smoothing or following.
-
e. Rendering:
-
- Unity proceeds to the rendering phase after the game logic updates are completed.
-
- The scene’s contents are rendered to create the final frame the player sees on the screen.
-
End of Frame:
-
- After rendering, Unity finalizes the frame, prepares the next frame, and checks if there’s a need to exit the application.
-
Loop Continuation:
-
- Unity goes back to the beginning of the game loop and repeats the process, updating the game state, processing input, and rendering frames.
It’s important to note that the frequency of the game loop depends on the frame rate. The more frames per second (FPS) your game runs, the more often the game loop will execute. This variability emphasizes the need to use Time—deltaTime when performing time-dependent calculations in Update and FixedUpdate, as it allows for smooth, frame-rate-independent gameplay in game loop.
Understanding the Unity execution cycle is crucial for writing efficient and performant code, as it helps you identify which functions to use for specific tasks and how to optimize your game logic. By utilizing Unity’s game loop effectively, you can create smooth, interactive, and engaging gameplay experiences for players.
Let’s delve deeper into the Unity execution cycle and discuss additional points related to the various phases of the game loop:
-
OnApplicationPause and OnApplicationFocus:
-
- During gameplay, it’s essential to handle events when the application loses focus or goes into the background (e.g., when a player receives a phone call or switches to another app).
-
- Unity provides two functions, OnApplicationPause and OnApplicationFocus, to handle these scenarios.
-
- OnApplicationPause is when the application is paused or resumed, while OnApplicationFocus is when the application gains or loses focus.
-
- You can use these functions to pause or mute the game when the player switches to another application and resume gameplay when the player returns to your game loop.
-
OnDestroy and OnDisable:
-
- When a GameObject is removed from the scene or disabled, Unity calls the OnDestroy and OnDisable functions, respectively.
-
- Use OnDestroy to perform cleanup tasks and release resources associated with a GameObject before destruction.
-
- OnDisable is called when a GameObject is deactivated or disabled. It helps stop ongoing processes or halt updates specific to the object while it’s inactive in game loop.
-
Application Quitting (OnApplicationQuit):
-
- When the player closes the application or quits the game, Unity calls the OnApplicationQuit function.
-
- You can use this function to save player progress, clean up resources, or perform any necessary tasks before the application exits in game loop.
-
Time.timeScale:
- The Time.timeScale property controls the game’s time flow speed.
- A value of 1 means real-time, while 0 pauses the game. Intermediate values can be used to create slow-motion or fast-forward effects.
- This property is commonly used when pausing the game, creating time-based power-ups, or implementing time manipulation mechanics in game loop.
-
FixedUpdate vs. Update:
- As mentioned earlier, FixedUpdate is used for physics calculations and is called at regular intervals. It’s essential for maintaining consistent physics simulations across various frame rates.
- On the other hand, Update is called once per frame and is primarily used for regular game logic and input handling.
- When handling player input, it’s often best to use Input functions like GetButtonDown in Update to avoid missing inputs that could occur between FixedUpdate calls.
-
Coroutine Execution:
- Coroutines provide a way to create sequences of actions or implement delays within the game loop.
- When a coroutine is called, it runs alongside the regular game loop, and you can yield different instructions, such as WaitForSeconds, to introduce pauses or time delays.
- Coroutines are helpful for animations, timed events, and other actions that require a step-by-step progression.
-
Script Execution Order:
- Unity allows you to control the order in which scripts are executed through the “Script Execution Order” settings.
- Sometimes, the order in which scripts run is crucial to ensure proper behavior and dependencies between objects.
- Use these settings sparingly and only when necessary, as script dependencies can lead to more complex and harder-to-maintain codebases in game loop.
Introduction:
When developing games in Unity, it’s crucial to grasp the core concepts of the game loop. Two essential functions that play a significant role in this loop are Start and Update in game loop. Both functions are used to execute code but serve distinct purposes during different phases of a game’s lifecycle. In this blog, we’ll dive into the differences between Start and Update, explore when to use each function, and understand how they contribute to creating captivating gameplay experiences.
-
Start Function
The Start function is one of the most commonly used Unity lifecycle methods. It is called once when an object or script is initialized before the first frame is rendered. Its primary purpose is to set up initial states, configurations, and references before the gameplay begins in game loop.
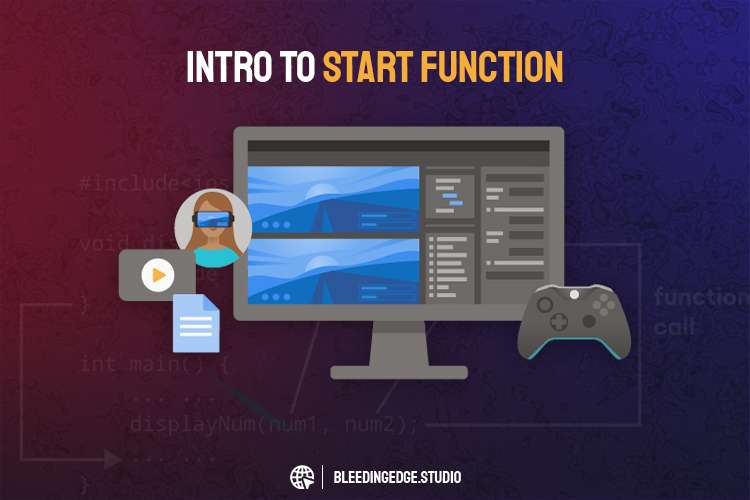
For example, Start is often used to initialize variables, cache references to other game objects or components, and prepare the scene. If there’s any setup required before the game starts running, this is the place to do it. It’s important to note that Start is only called once in the lifetime of an object or script, making it ideal for one-time setup tasks.
void Start()
{
// Initialization code goes here
player controller = GetComponent<PlayerController>();
store manager = FindObjectOfType<ScoreManager>();
gameUI.SetActive(true);
}
-
Update Function
Unlike Start, the Update function is called every frame during gameplay. This makes it suitable for implementing gameplay mechanics and continuously updating game elements, such as player input, AI behaviors, animations, physics, etc. Code placed within Update will be executed repeatedly, making it a powerful tool for real-time interactions.
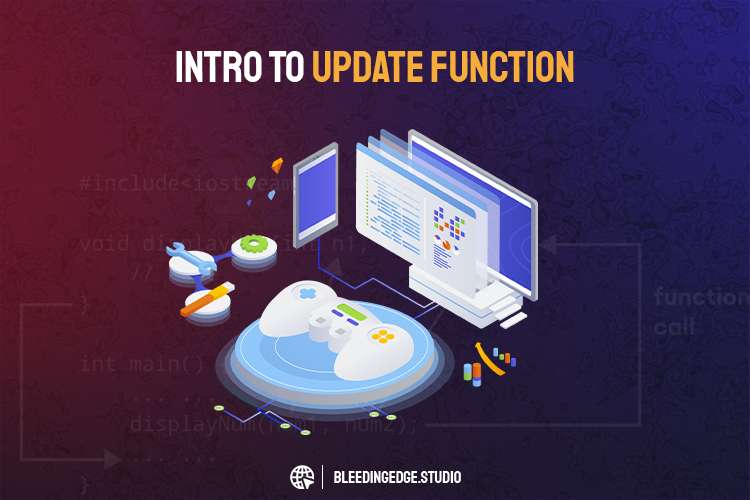
However, developers should exercise caution with performance in mind when using Update. Executing heavy calculations or operations within this function can negatively impact the game’s performance, leading to frame rate drops and jittery gameplay. If your code doesn’t need to be updated every frame, consider using other functions like FixedUpdate (for physics calculations) or LateUpdate (for camera-related operations) to reduce computational overhead.
void Update()
{
// Player input and movement code goes here
float horizontalInput = Input.GetAxis(“Horizontal”);
playerController.Move(horizontal input);
}
-
The Key Differences:
The primary differences between Start and Update can be summarized as follows:
- Execution frequency: Start is called once when the script is initialized, while Update is called every frame during gameplay in game loop.
- Initialization vs. continuous updates: Start is suitable for one-time setup tasks, while Update is ideal for continuous gameplay updates.
- Performance considerations: Since Update runs every frame, it can be computationally expensive. Careful optimization is crucial to maintain a smooth gaming experience.
To optimize your Unity projects and ensure smooth performance, consider the following best practices:
- Minimize heavy computations in Update: Only include essential and lightweight calculations within the Update function. Offload complex operations to other appropriate functions or utilize Unity’s Job System for multithreading.
- Cache references: Whenever possible, cache references to other game objects or components during Start rather than doing expensive Find operations during gameplay.
- Use FixedUpdate for Physics: For physics-related calculations, use FixedUpdate instead of Update. It runs at fixed intervals and ensures consistent physics simulations across different hardware.
- Use Coroutines: For actions requiring delays or sequences, consider using them, as they provide a cleaner way to manage asynchronous behavior.
Conclusion:
In conclusion, understanding the fundamental differences between Start and Update is crucial for effective game development in Unity. Use Start for initial setup and one-time tasks and Update for real-time interactions and gameplay mechanics. Remember to optimize your code and use other specialized functions when applicable to maintain performance. With this knowledge, you can create immersive and engaging games that run smoothly on various platforms. Happy game development!
Here are some additional points to further elaborate on the differences and best practices related to the Start and Update functions in Unity:
-
Awake Function:
Before discussing more about Start, it’s worth mentioning the Awake function. This function is similar to Start, which is called once during the initialization phase. However, Awake is executed before Start, making it helpful in setting up references or performing initialization tasks that other scripts might depend on in their Start functions.
void Awake()
{
// Initialization tasks that need to run before Start() go here
GameManager.Instance.RegisterPlayer(gameObject);
}
-
LateUpdate Function:
In addition to Start and Update, Unity also provides the LateUpdate function. This function is called once per frame after executing all Update functions. It’s commonly used when you need to perform actions that depend on the positions or rotations of other objects updated in Update. For example, smooth camera tracking often goes in late updates to ensure the camera follows a player smoothly after moving.
void LateUpdate()
{
// Camera tracking code goes here (smooth follow after the player has moved)
Vector3 targetPosition = player. transform.position + offset;
transform.position = Vector3.Lerp(transform.position, target position, smooth speed * Time.deltaTime);
}
-
FixedUpdate Function:
As mentioned briefly, FixedUpdate is called at fixed time intervals and is typically used for physics-related calculations. This function ensures consistent physics simulations, irrespective of the frame rate. When manipulating Rigidbody components, you should use FixedUpdate to prevent discrepancies in physics simulations.
void FixedUpdate()
{
// Physics-based movement code goes here
, rb.AddForce(move direction * move speed * Time.fixedDeltaTime, ForceMode.Impulse);
}
-
Optimize for Mobile Platforms:
When developing games for mobile platforms, performance becomes even more critical. Since mobile devices have limited processing power compared to PCs, optimizing your code is crucial. Consider using object pooling, reducing the number of draw calls, and minimizing expensive operations in Update to ensure a smooth experience on mobile devices in game loop.
-
Pausing the Game:
During gameplay, you might need to pause or freeze certain game elements. For instance, you are pausing the game during the game over or victory screen. When pausing, it’s essential to halt Update and other real-time interactions to avoid unintended behavior. One way to achieve this is by setting a flag and controlling your game logic based on that flag.
bool isGamePaused = false;
void Update()
{
if (!isGamePaused)
{
// Update game logic only when not paused
}
}
public void PauseGame()
{
isGamePaused = true;
// Handle other pausing-related tasks
}
public void ResumeGame()
{
isGamePaused = false;
// Handle other resuming-related tasks
}
Conclusion:
Understanding the nuances of Unity’s game loop and the differences between Start, Update, Awake, LateUpdate, and FixedUpdate is essential for creating efficient and enjoyable games. Choosing the appropriate function for specific tasks, optimizing your code, and adhering to best practices will lead to well-performing and engaging games. As you continue your journey in Unity game development, remember to experiment and iterate, refining your skills and creating memorable gaming experiences. Happy game-making!
Understanding the intricacies of the Unity execution cycle and leveraging the appropriate functions during each phase is crucial for developing performant, responsive, and engaging games by optimizing your code, handling application lifecycle events, and managing the Time flows through Time.timeScale, you can create a seamless and immersive gaming experience for players. Always consider the balance between using Update, FixedUpdate, and Coroutines to ensure smooth gameplay and avoid performance bottlenecks. With a firm grasp of the Unity execution cycle, you’ll be better equipped to develop innovative and captivating games that resonate with your audience. Happy game development!
Understanding the Unity execution cycle and the various functions involved, such as Start, Update, LateUpdate, FixedUpdate, and others, is paramount for effective game development in Unity. The game loop determines how your game progresses from one frame to the next, handling input processing, game logic updates, Rendering, and application lifecycle events. By grasping the nuances of each function and knowing when and how to use them, you can create efficient, smooth, and engaging gameplay experiences for your players.
Key takeaways from this discussion:
- Start and Initialization: Use the Start function for one-time setup tasks, such as initializing variables, caching references, and preparing the scene before the game starts.
- Update and Real-time Logic: Utilize the Update function for real-time interactions and gameplay mechanics that must be updated every frame. Be mindful of performance and use Time.deltaTime for frame-rate-independent calculations.
- FixedUpdate and Physics: For physics-related calculations and consistent physics simulations across different frame rates, employ the FixedUpdate function.
- LateUpdate and Sequencing: Use LateUpdate for actions that depend on the results of other updates, such as camera smoothing or following.
- Coroutines and Time Delay: Coroutines provide a way to create sequences of actions or introduce delays, making them useful for animations, timed events, and step-by-step progressions.
- Application Lifecycle Events: Handle events like application pausing, gaining or losing focus, and quitting using functions like OnApplicationPause, OnApplicationFocus, and OnApplicationQuit.
- Time Manipulation: Adjust the game’s time flow with Time.timeScale to create slow-motion or fast-forward effects and implement time-based mechanics.
- Optimization: Optimize your code to ensure smooth performance, especially on mobile devices. Cache references, minimize heavy computations in Update, and utilize FixedUpdate for physics calculations.
- Script Execution Order: Be cautious when using the “Script Execution Order” settings to control script execution. Only use it when necessary to manage script dependencies effectively.
By incorporating these best practices and understanding the Unity execution cycle, you’ll be well-equipped to develop high-quality games that captivate your players and deliver an enjoyable gaming experience. As you continue your game development journey, keep experimenting, iterating, and refining your skills to create memorable and immersive gameplay that keeps players returning for more. Happy game-making!
For more details, see https://bleedingedge.studio/blog/